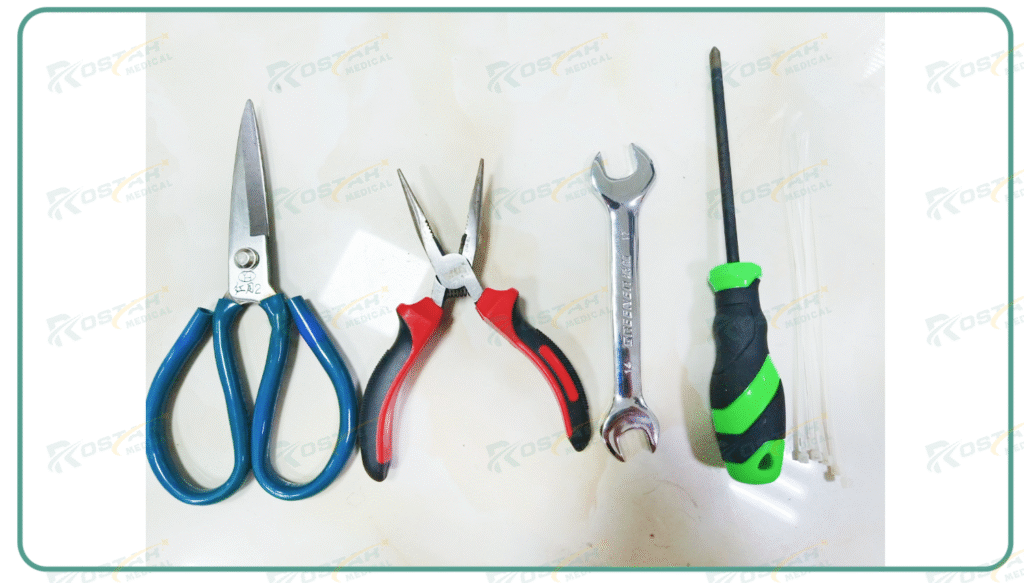
Step1. Gather the four tools and cable ties you will need for the assembly.
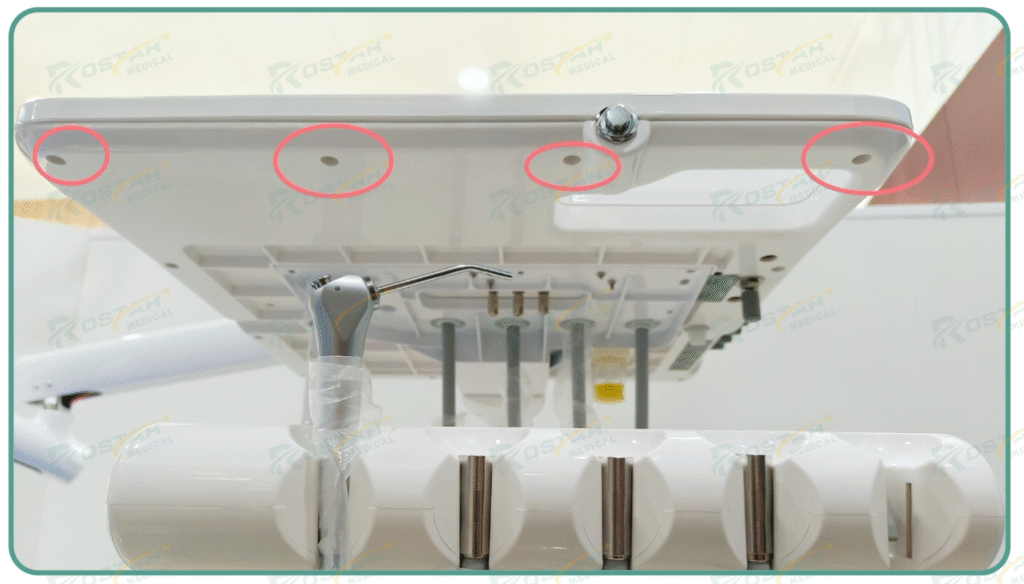
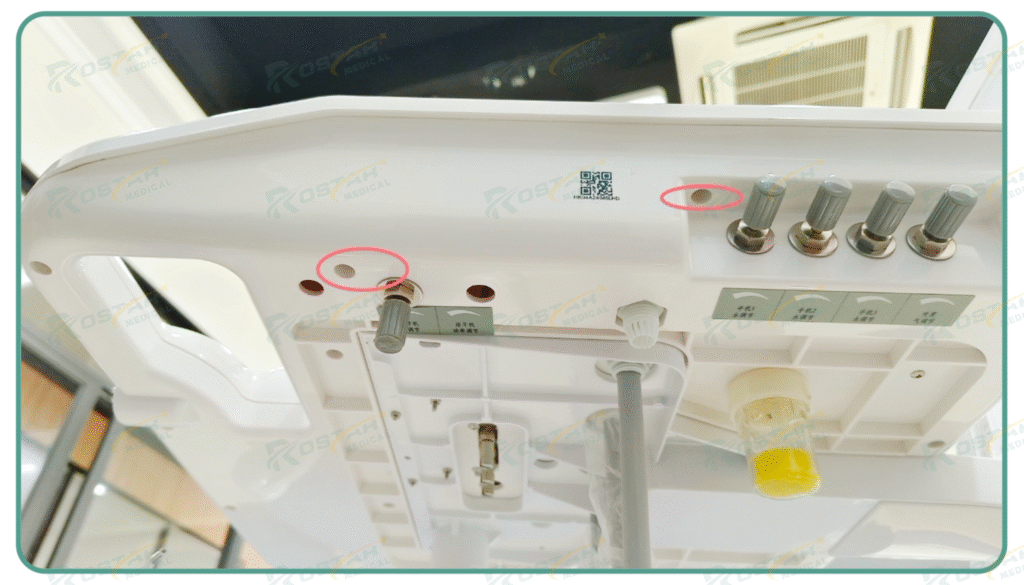
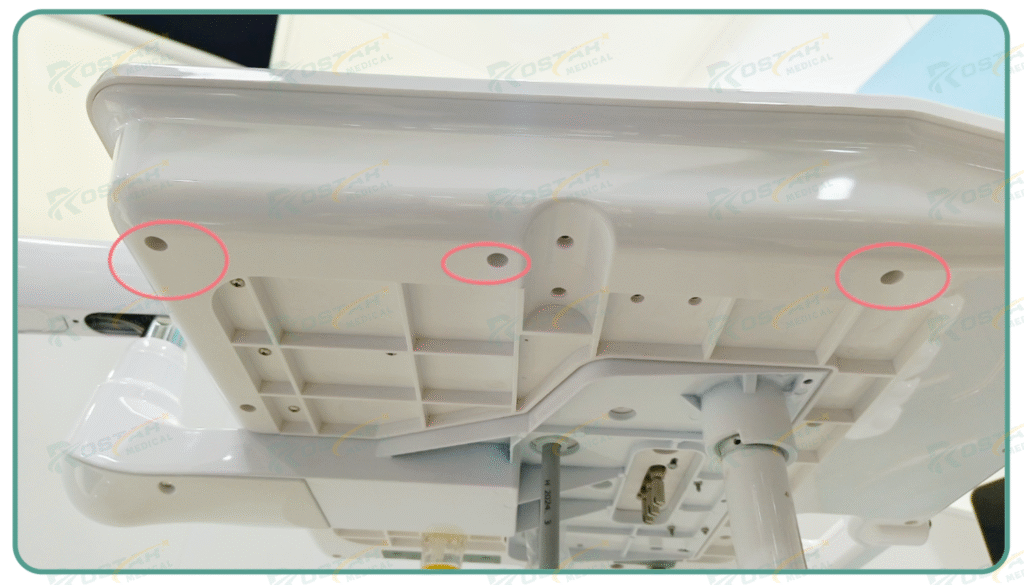
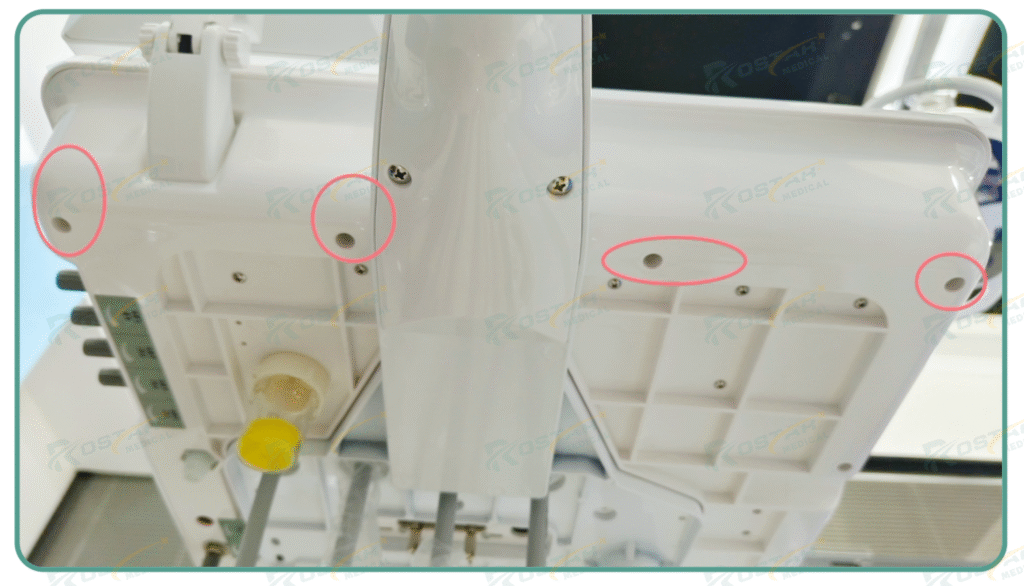
Step2. Remove the screws located at the front, back, left, and right sides beneath the instrument tray.
Step3. Open the upper cover of the instrument tray and unplug the pipeline.

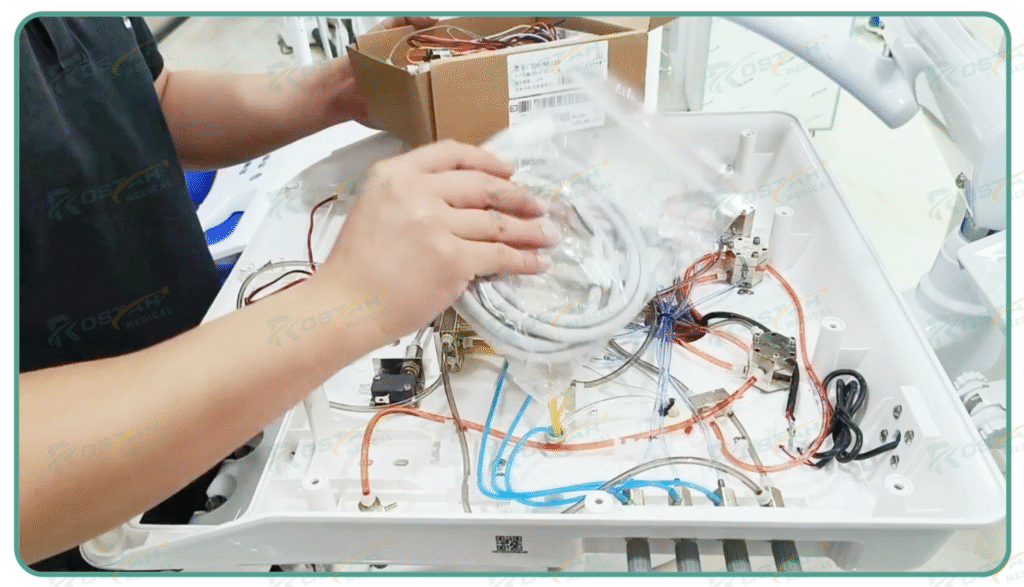
Step4. Take out the tubing from the dental ultrasonic scaler box.
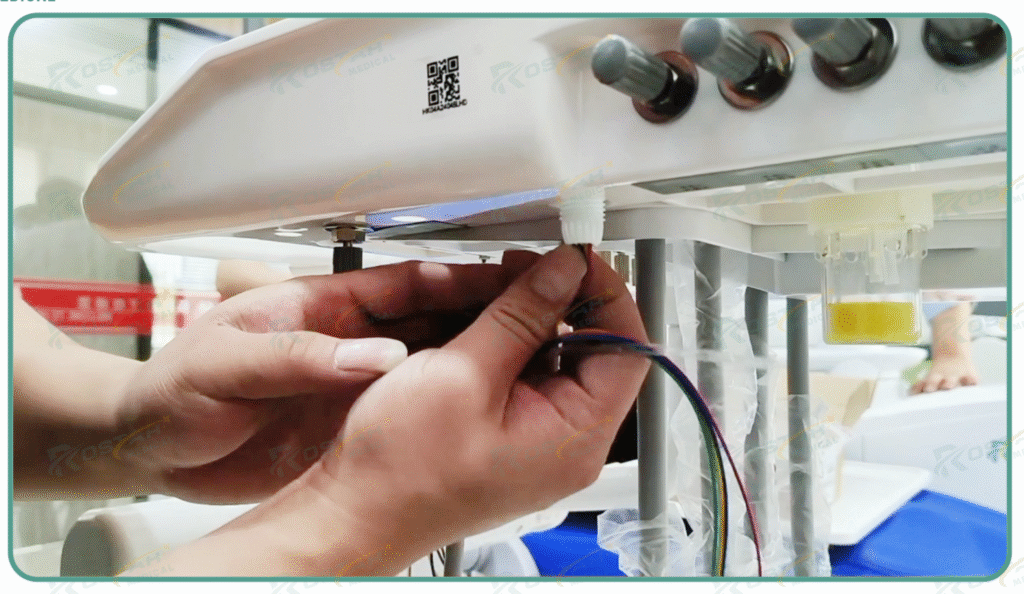
Step5.First, hang the connector, pass the tubing through the reserved hole.
Step6. Tighten the upper and lower fixing screws.
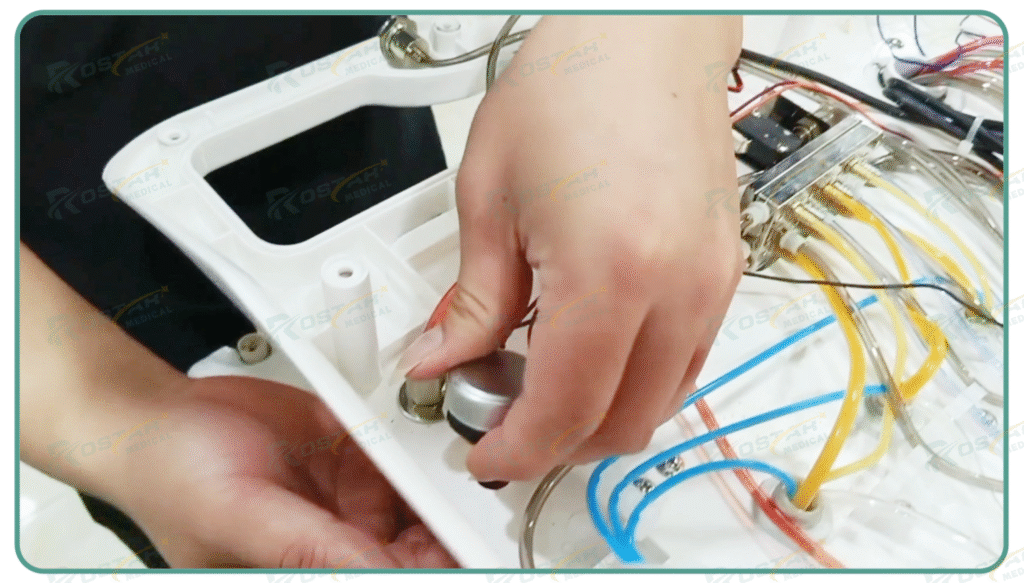
Step7. Take out the power adjustment switch, place the gasket on it, install it in the designated hole.
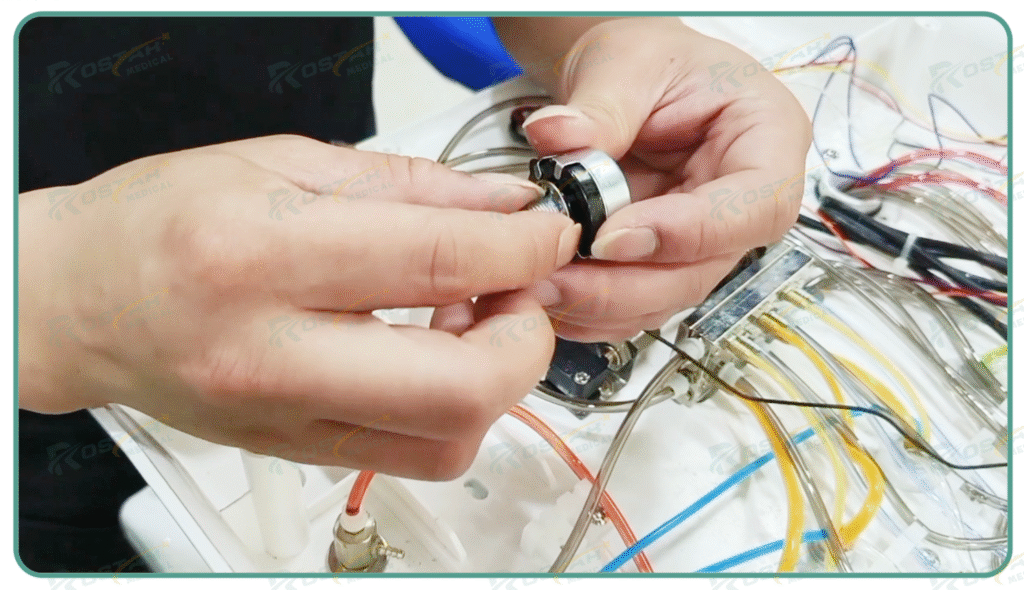
Step8.Place the gasket on the bottom again and tighten the fixing screws. After that, attach the knob cap.
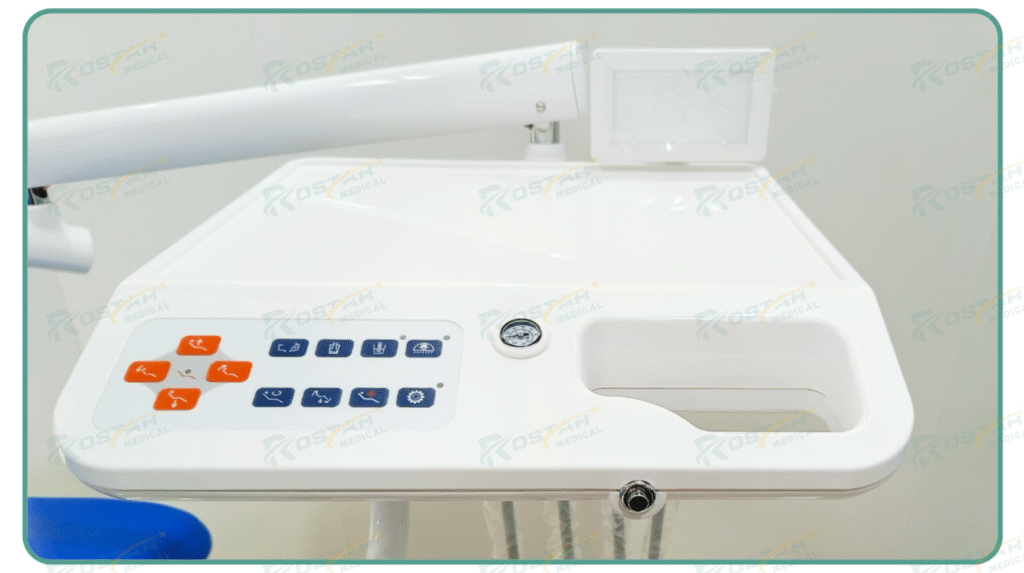
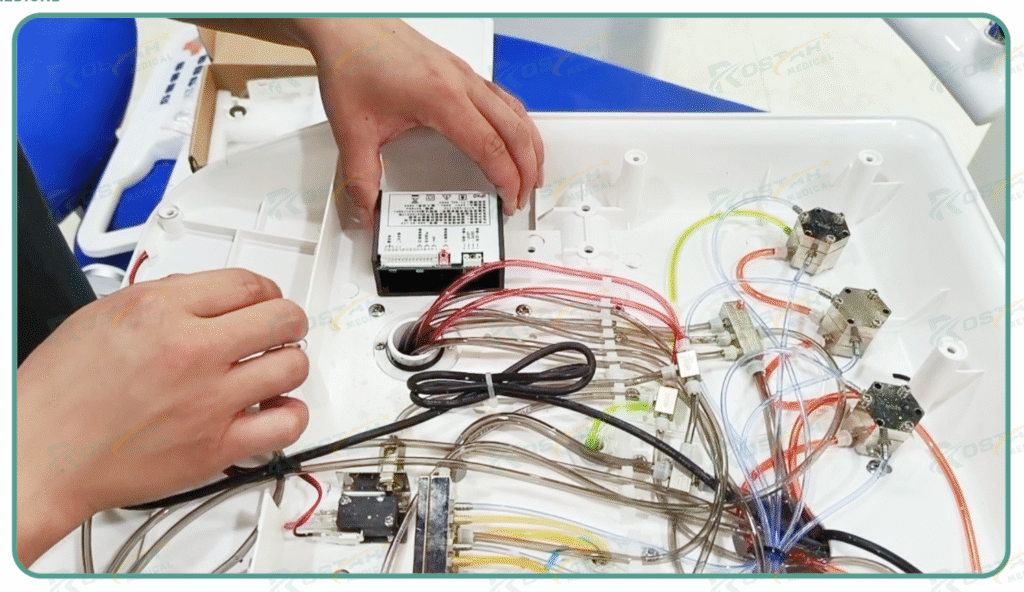
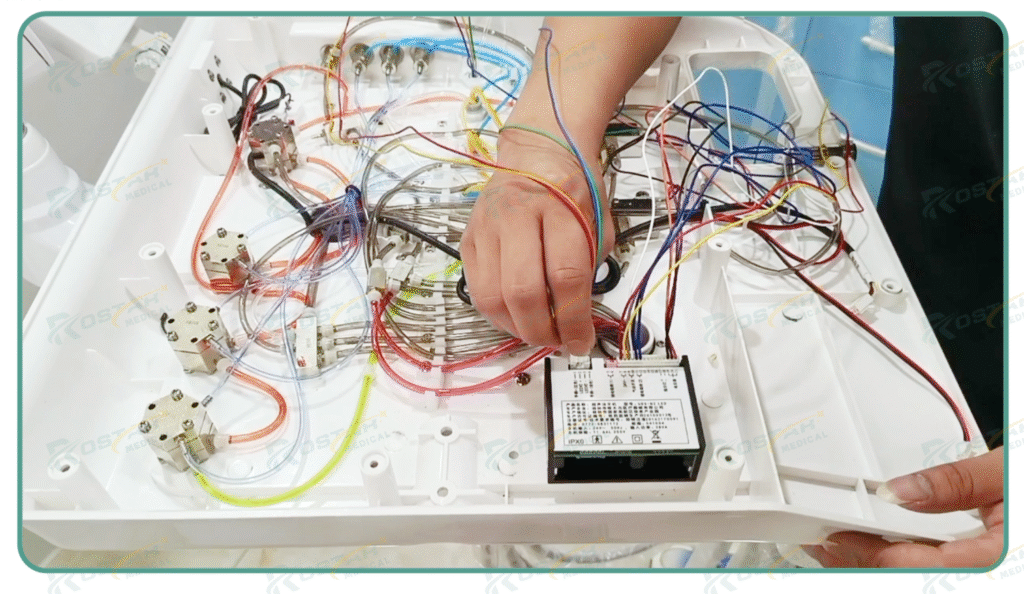
Step9.Retrieve the control box and stick it onto the blank area of the instrument tray.
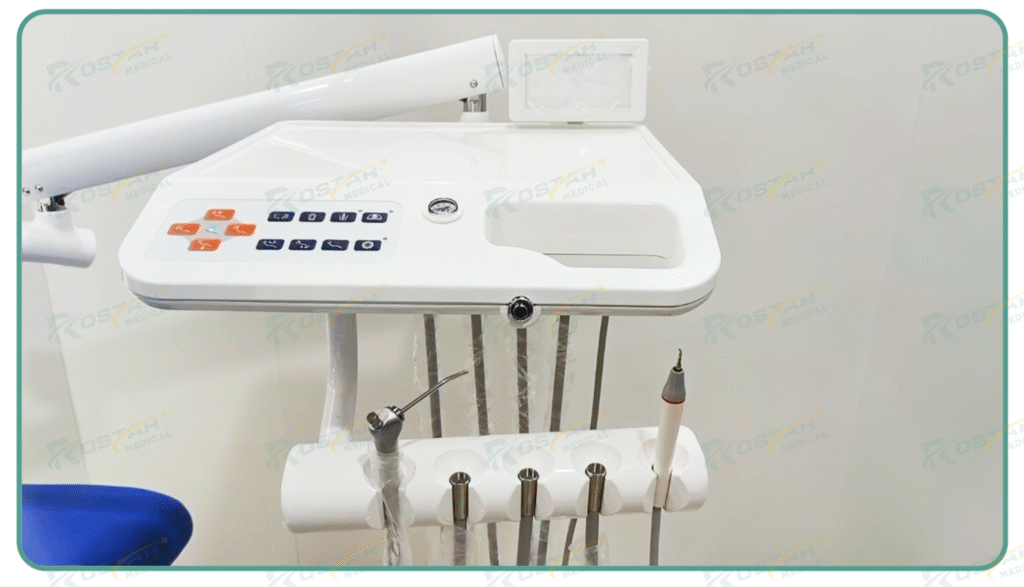
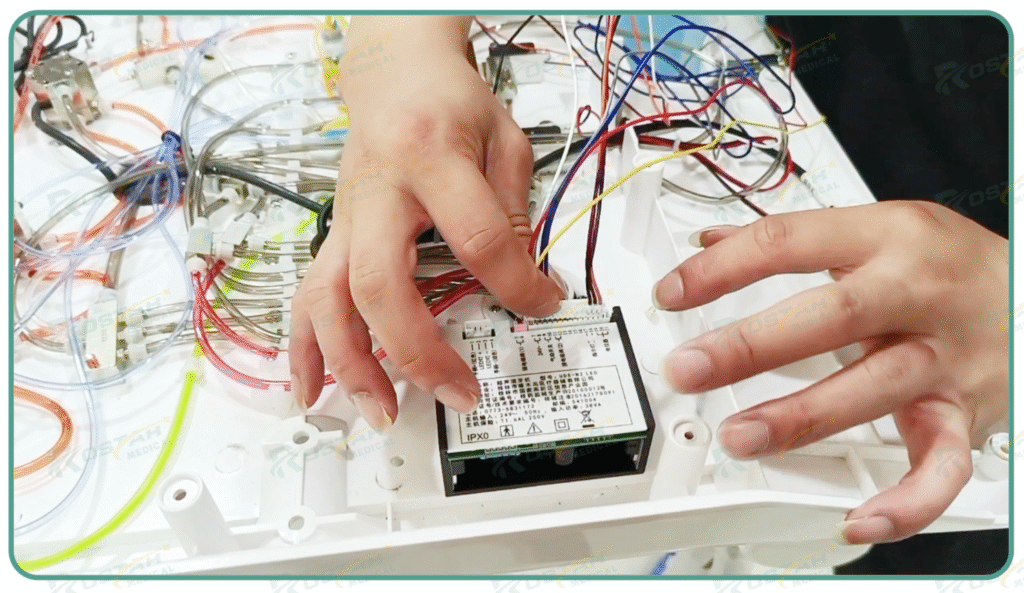
Step10.Plug in the power adjustment switch connector and the scaler handle.
Step11.Press down on the port to insert the 24V red and yellow power cord, as well as the white and gray pneumatic switch power cord.
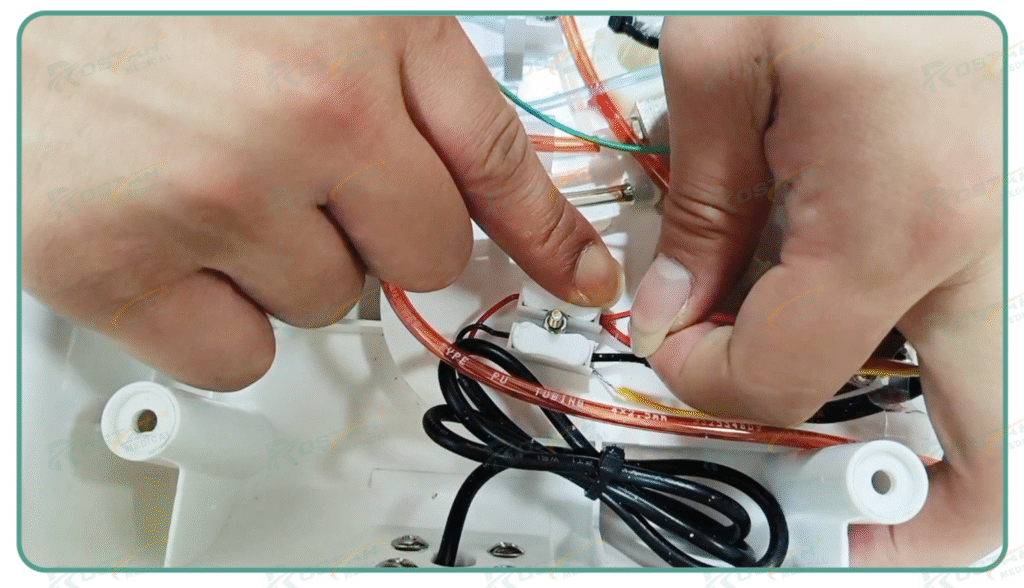
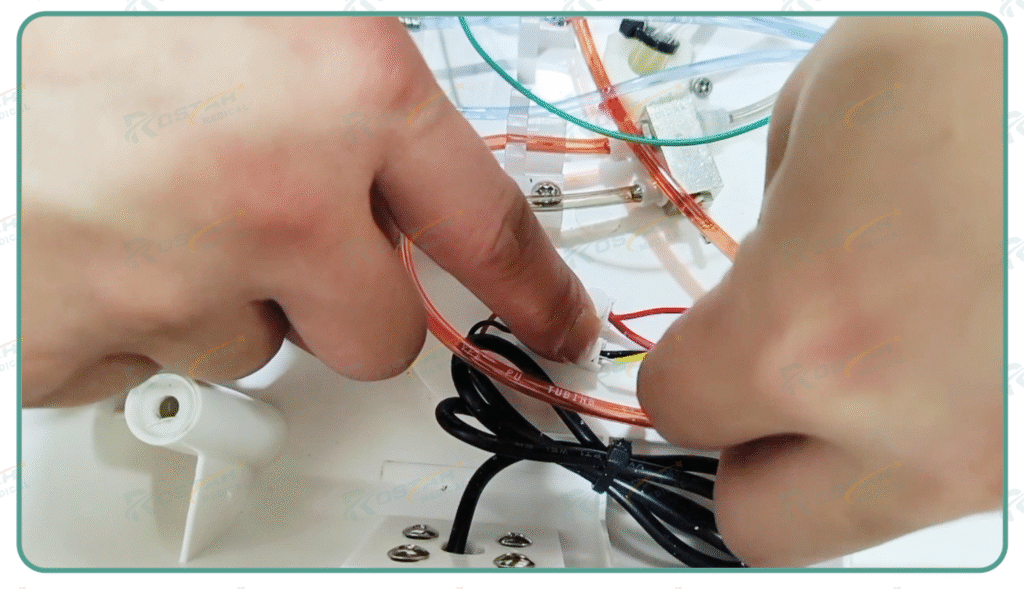
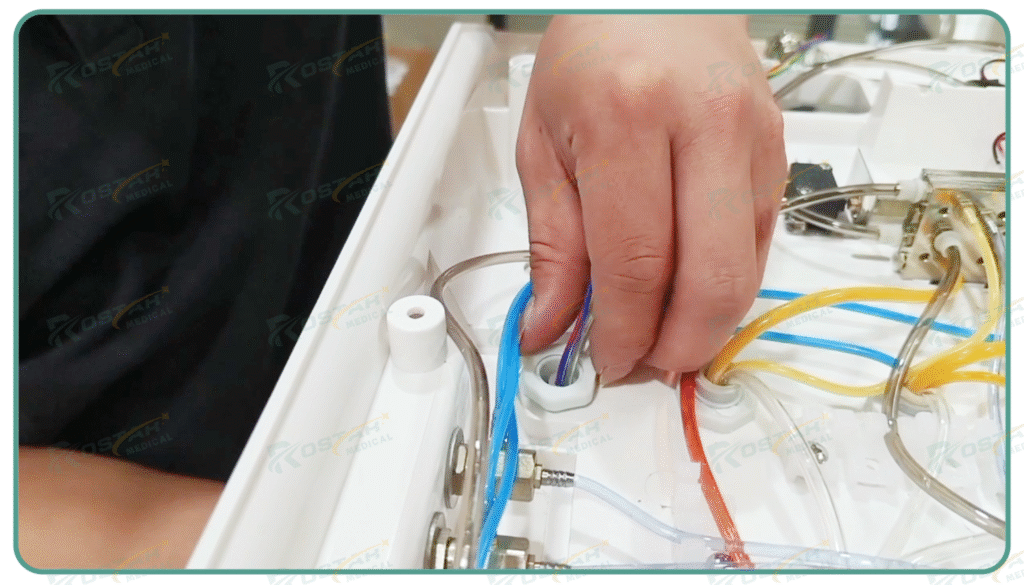
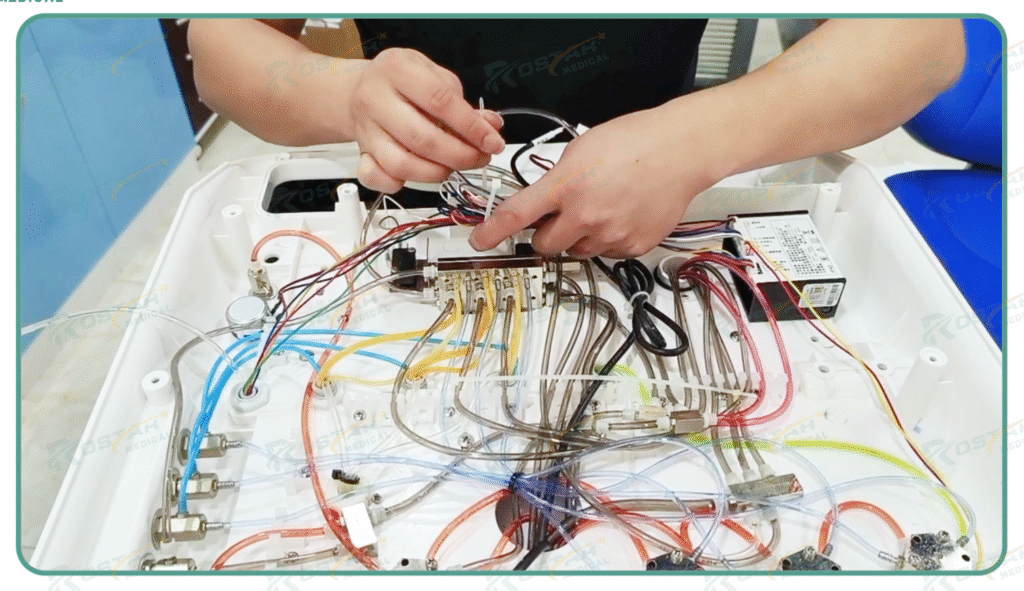
Step12.Organize the wiring and secure it with cable ties. Then connect the water pipe to the scaler.
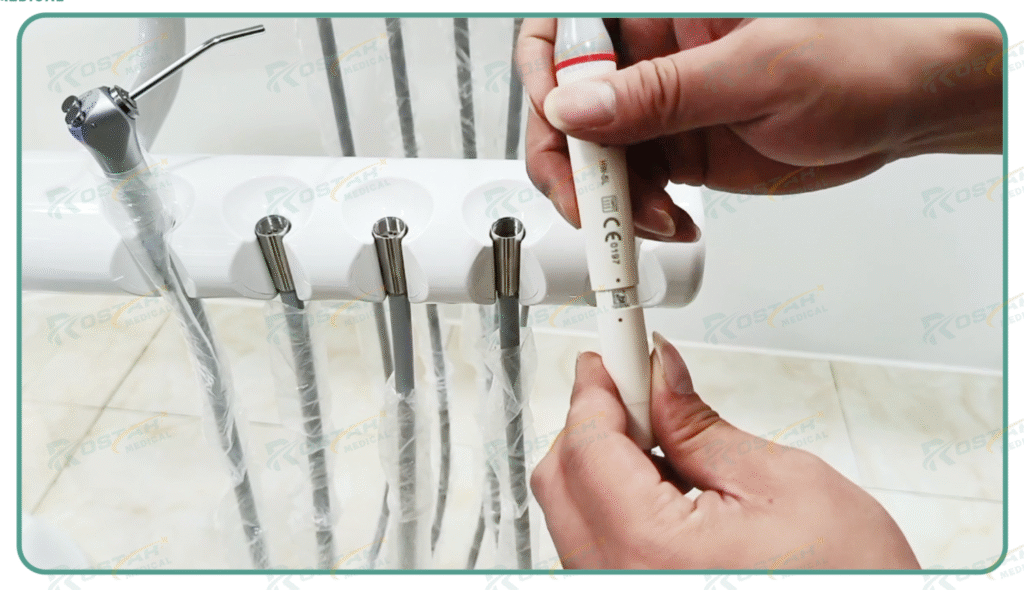
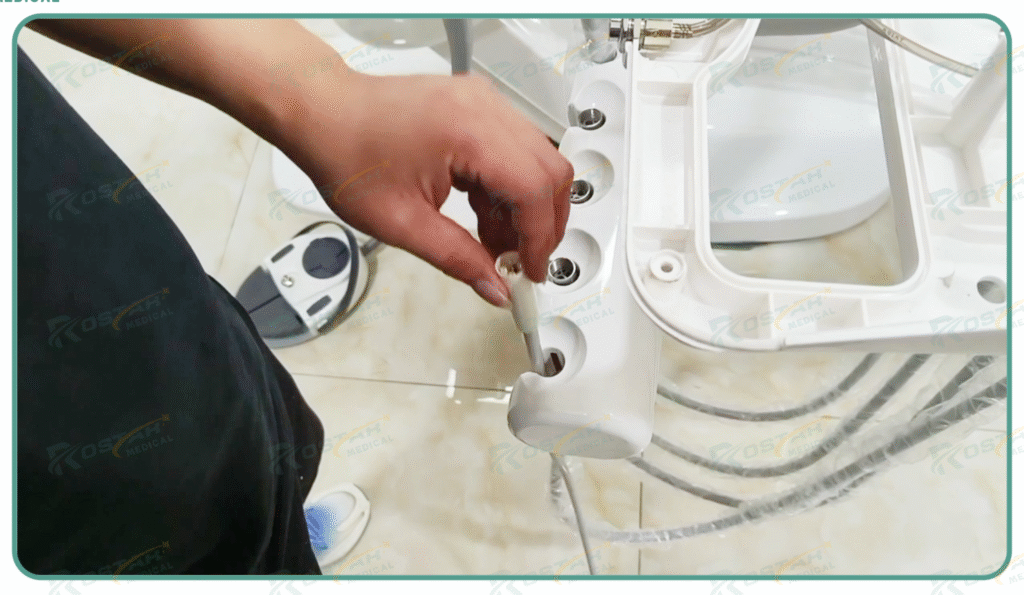
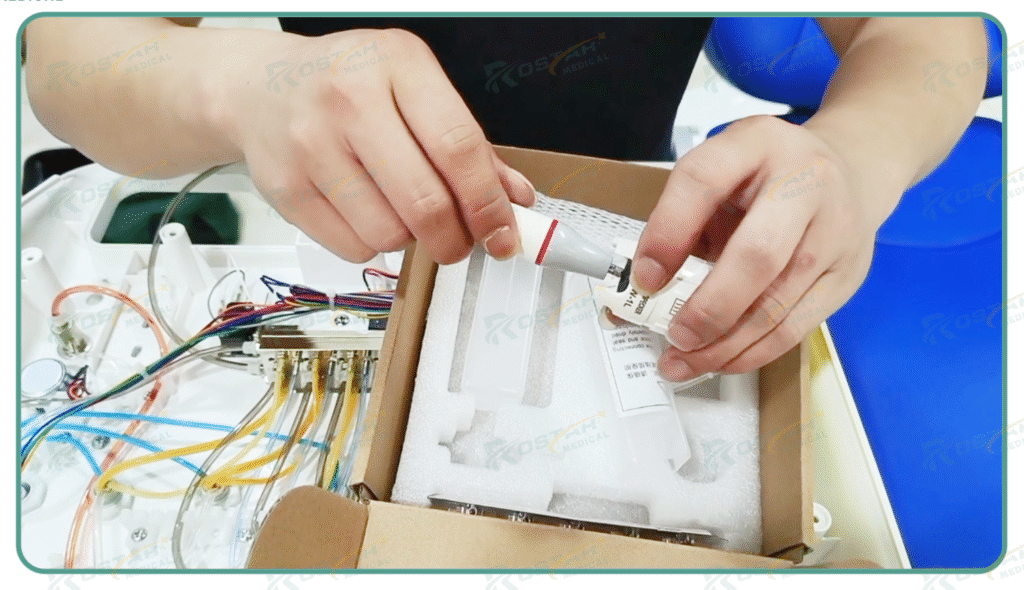
Step13. Remove the scaler, install the Scaler tip and handle.
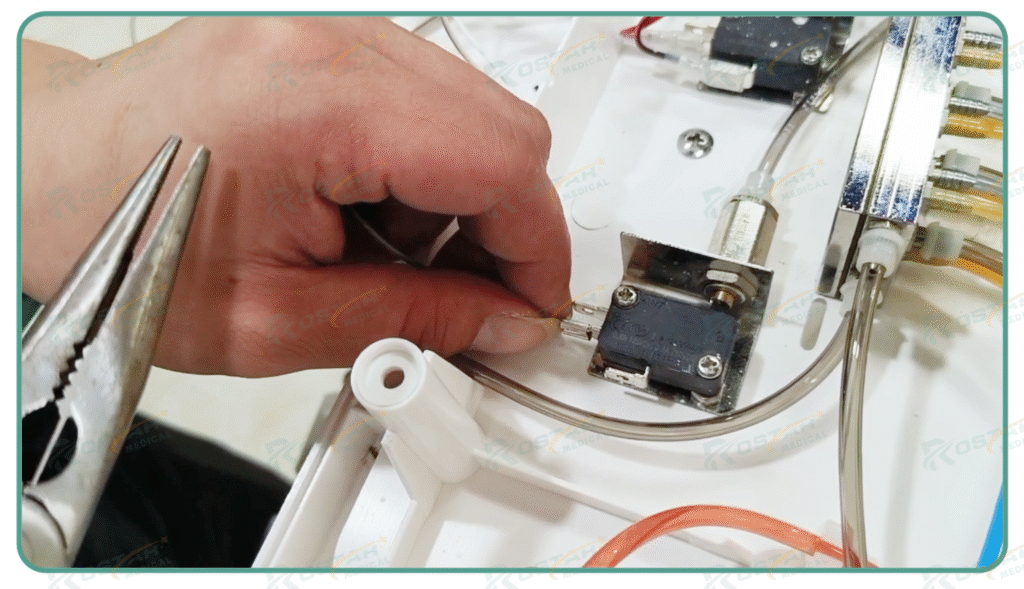
Step14. Finally, double-check the internal wiring to ensure there are no errors, and reconnect the pipelines.