Introduction
Opening a dental clinic is an exciting venture, but the success of your practice depends not only on your skills or equipment—it starts with layout design. A well-planned dental clinic layout enhances workflow, maximizes space, ensures compliance with regulations, and improves the patient experience. Whether you’re setting up a brand-new practice or renovating an existing one, this guide will walk you through the essentials of designing a dental clinic layout that balances efficiency, comfort, and aesthetics.
Why Dental Clinic Layout Matters
The design of your dental clinic impacts almost every part of your practice:
- Operational efficiency – Minimize unnecessary steps between sterilization, storage, and treatment rooms.
- Patient satisfaction – Comfortable waiting areas and clean, well-lit operatories increase trust and comfort.
- Team productivity – Smart layout reduces bottlenecks and helps your team move seamlessly through daily tasks.
- Brand identity – Your clinic layout reflects your practice style and professionalism.
- Regulatory compliance – Proper spatial planning ensures your practice meets local health and safety requirements.
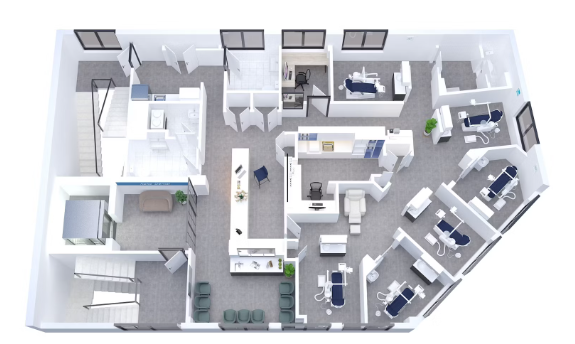
Key Zones in a Dental Clinic Layout
A well-balanced layout typically includes the following zones:
- Reception and Waiting Area
- Consultation Room
- Treatment Rooms (Operatories)
- Sterilization and Disinfection Room
- Panoramic X-ray Room (optional)
- Restrooms
- Staff Lounge or Office
- Storage Room
Each zone should be planned based on its function and relation to adjacent areas.
Workflow Efficiency: Designing for Functionality
The key to a productive practice is a seamless workflow. Here are some practical layout strategies:
- Central Sterilization Hub: Place it at the core of your operatories to allow easy access from every room.
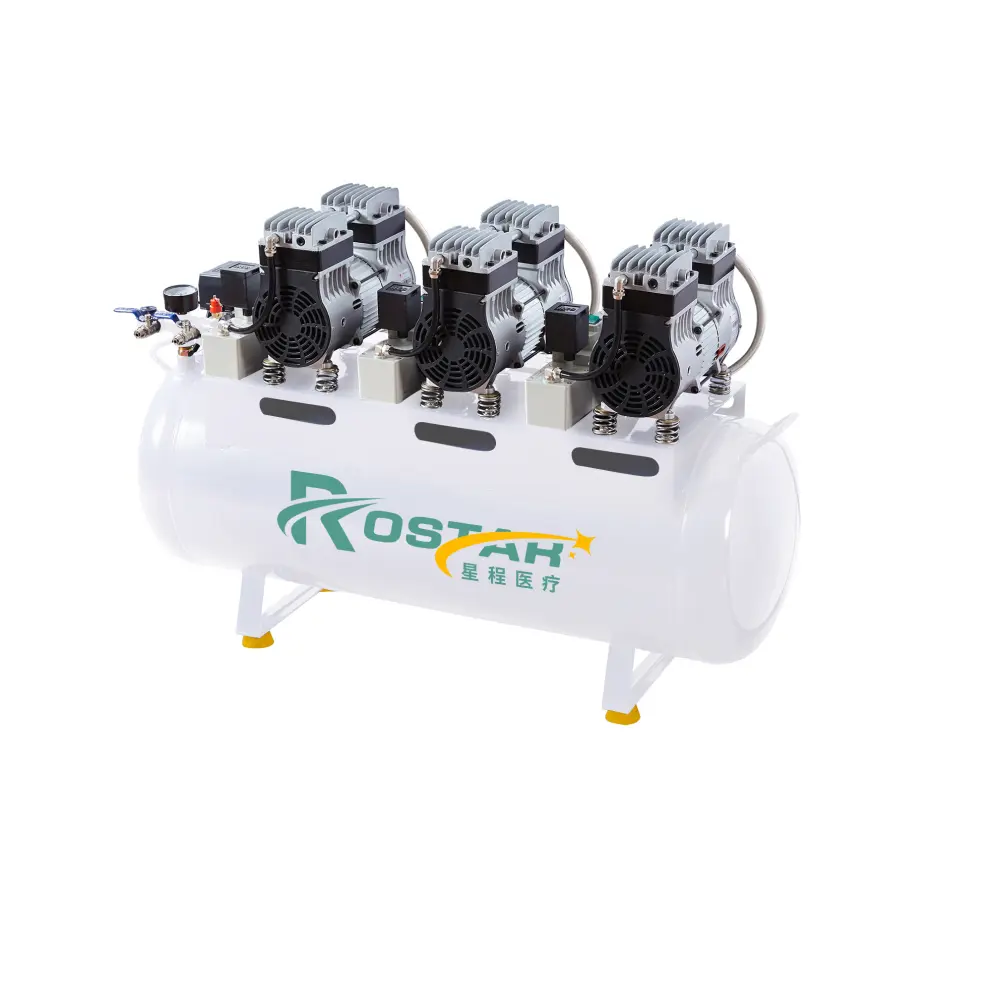
- Zoning by Use: Keep noisy or clinical zones (e.g., suction systems, compressors) away from patient areas.
- Short Travel Paths: Reduce walking distances between frequently used zones, such as operatory to sterilization.
- Supply Access: Install overhead cabinetry and under-counter storage to minimize clutter.
Pro tip: Use color-coded flooring or subtle wall signage to designate zones and aid staff navigation.
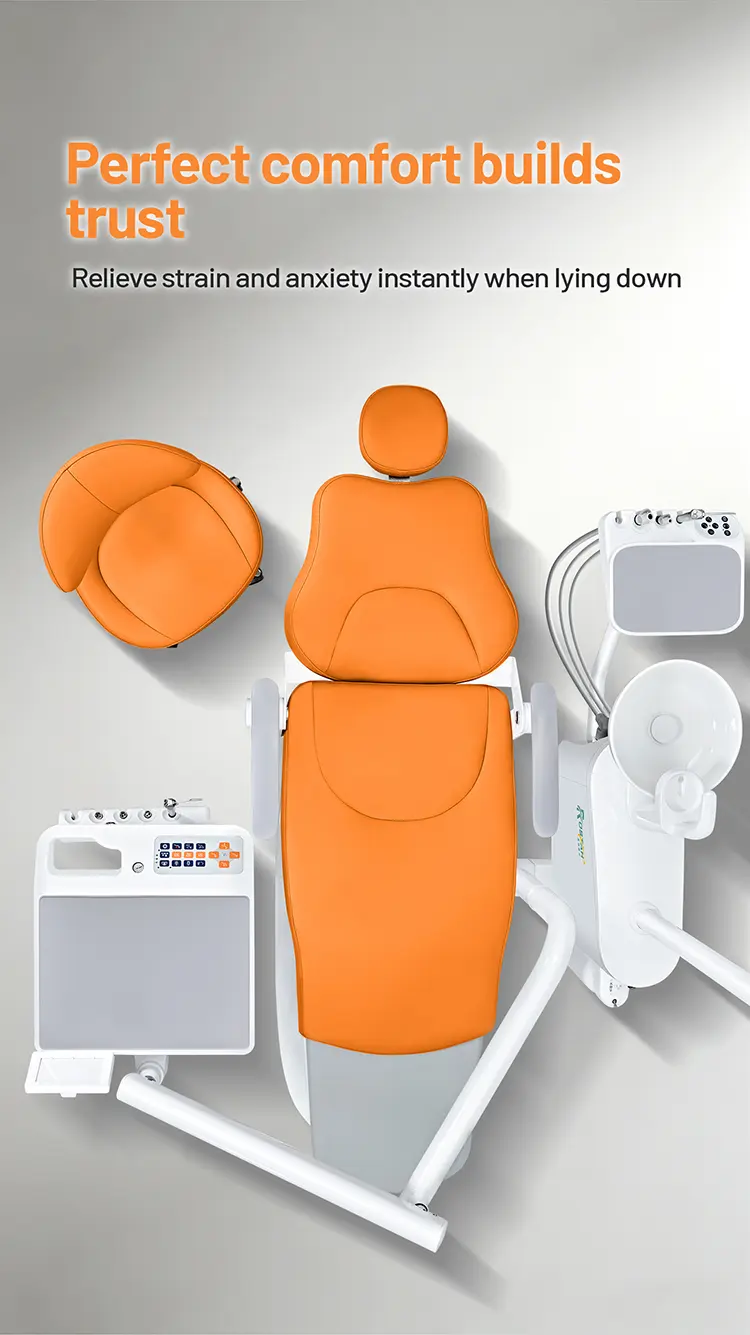
Patient Comfort: Designing for Experience
Patient anxiety is common in dental clinics. Your layout can help reduce stress and improve satisfaction:
- Visual Privacy: Ensure operatories are partially enclosed or positioned out of direct view from the waiting room.
- Natural Light: Incorporate windows or skylights into the design where possible.
- Acoustic Control: Use sound-absorbing materials to reduce noise from drills and compressors.
- Waiting Area Design: Choose soft lighting, comfortable seating, calming colors, and offer amenities like Wi-Fi or water.
Bonus tip: Use curved walls or partitions in waiting areas for a softer, more welcoming aesthetic.
Best Practices for Dental Operatory Design
Operatories (treatment rooms) are the heart of your clinic. Consider these best practices:
- Room Size: 9 ft x 11 ft (2.7m x 3.3m) is a common minimum size.
- Chair Placement: Place the dental chair to allow for right or left-handed use depending on your operatory setup.
- Cabinetry: Use side or rear delivery systems to minimize clutter and enhance ergonomics.
- Lighting: Combine overhead ambient lighting with focused dental lighting (LED or halogen).
- Ventilation: Ensure proper air exchange, especially in enclosed spaces.
Space Planning: How Many Chairs Do You Need?
The number of dental chairs depends on your team size, expected patient flow, and available square footage:
| Clinic Type | Suggested Chairs | Space Needed (Approx.) |
|---|---|---|
| Solo Practice | 2–3 | 800–1200 sq. ft |
| Small Group (2–3) | 4–6 | 1500–2000 sq. ft |
| Large Practice | 6–10+ | 2500+ sq. ft |
Remember to allow at least 3–4 feet of clearance around each chair for movement and equipment.
Compliance and Safety Considerations
Different regions have varying regulations, but here are universal must-haves:
- ADA Accessibility: Wide hallways, ramps, and accessible restrooms.
- Radiation Safety: Lead shielding for X-ray rooms.
- Ventilation Codes: Airflow standards for sterilization and enclosed rooms.
- Fire Exits & Emergency Access: Clear pathways and signage.
Consult local authorities and architects familiar with healthcare construction codes.
Modern vs Traditional Layouts
Modern Layout Features:
- Open concept operatories with glass partitions
- Minimalist design with soft tones
- Integrated digital systems
- Eco-friendly materials
Traditional Layout Features:
- Fully enclosed rooms
- Wood finishes, darker colors
- Manual record storage
Your choice depends on brand positioning and patient demographics. Pediatric clinics may lean more colorful and cozy, while cosmetic practices might opt for high-end modern minimalism.
Final Tips and Takeaways
- Start with a floor plan. Use software like SketchUp or consult dental-specific architects.
- Think like a patient. Walk through your space as if you were visiting for the first time.
- Involve your team. Dental assistants and hygienists can offer valuable input on movement and functionality.
- Plan for the future. Leave room for expansion or new tech integrations.
Conclusion
Designing a dental clinic layout isn’t just about walls and chairs—it’s about creating a space where people feel safe, cared for, and efficient. With the right planning, your clinic will function like a well-oiled machine while offering a relaxing environment that builds patient trust.
Need help selecting the right dental chair or operatory layout? Contact our team for personalized recommendations based on your clinic vision.